
Understanding the Concept of Wet Room Shower
What Is a Wet Room Shower?
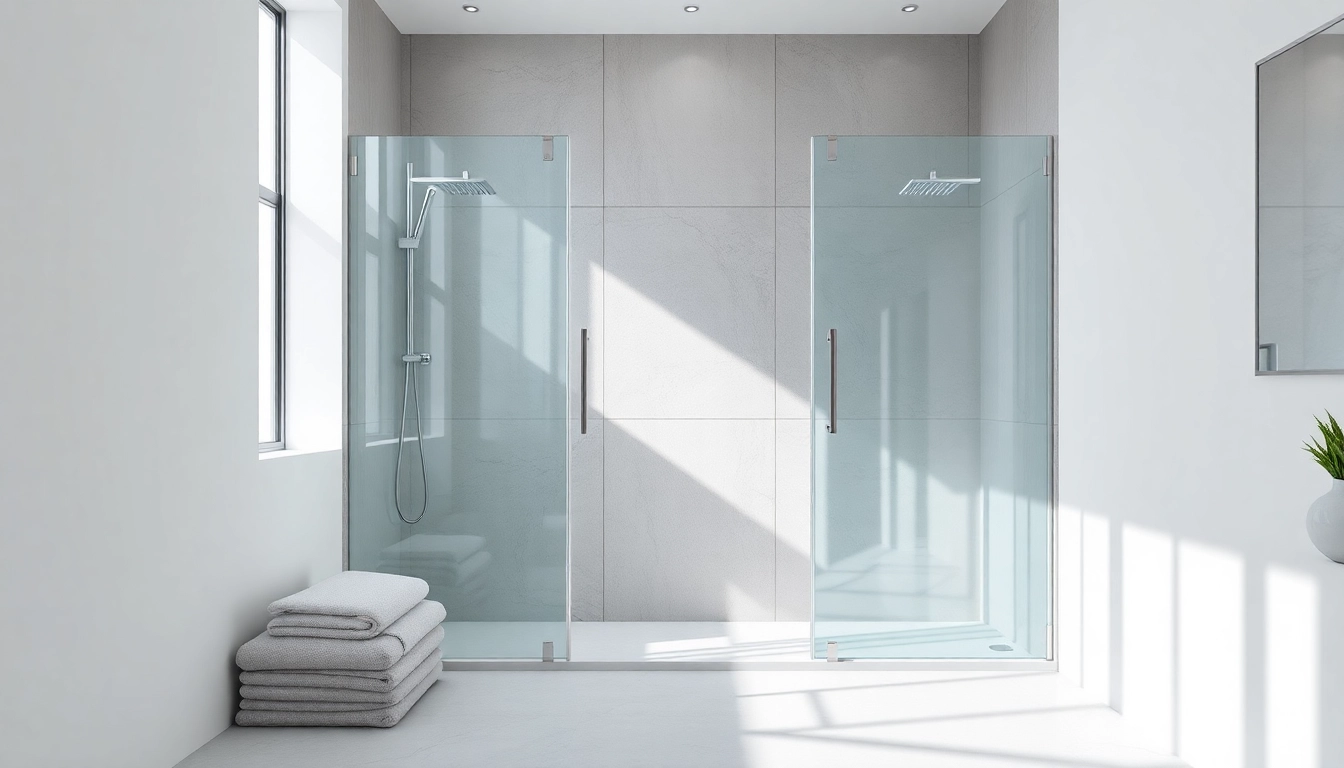
A wet room shower combines showering and bathing capabilities in a streamlined, open space typically designed without a shower tray or enclosure. This design effectively eliminates barriers and allows for seamless transitions between different areas of the bathroom while maintaining a cohesive aesthetic. In a wet room, the entire room is water-friendly, with specialized waterproofing and drainage systems integrated within the floor, promoting a modern, minimalist style.
Key Features of a Wet Room Shower
Wet room showers come with several distinctive features, ensuring function meets sophistication:
- Open Design: The lack of traditional shower doors or curtains enhances accessibility while creating a more expansive visual effect.
- Waterproofing: Integral waterproof membranes and slopes in the floor are critical to minimize the risk of water damage and to ensure efficient drainage.
- Versatile Fixtures: Many wet rooms use handheld or wall-mounted shower heads, offering flexibility in water usage.
- Style Options: With a plethora of tile designs and finishes available, wet rooms can be customized to suit any aesthetic preference, from contemporary to rustic.
Benefits of Choosing a Wet Room Shower
Choosing a wet room shower can deliver numerous advantages to homeowners:
- Space Efficiency: Ideal for smaller bathrooms, wet rooms maximize the use of space since they don’t require partitions.
- Accessibility: The level floor design provides ease of access, making it suitable for all ages and mobility levels.
- Design Flexibility: Wet rooms can adapt to varying styles and layouts, allowing homeowners to create a unique bathroom experience.
- Improved Ventilation: The open layout facilitates better air circulation, which helps to reduce humidity, mitigating mold growth.
- Luxury Experience: The spa-like feel and aesthetic appeal of a wet room create a calming bathing experience.
Designing Your Ideal Wet Room Shower
Choosing the Right Location
When designing a wet room shower, the location plays a crucial role. It is essential to consider plumbing accessibility, proximity to existing drainage systems, and natural light availability. Ideally, the wet room should be placed in a corner or against a wall to facilitate a sloped drainage system, which is vital for preventing water pooling. Besides functional aspects, consider how the wet room integrates with adjacent spaces, as modern open-plan designs benefit from a fluid transition between rooms.
Essential Layout Considerations
The layout is critical to achieving a functional and aesthetically pleasing wet room shower. Primary considerations may include:
- Drain Placement: Place the drain strategically at the lowest point of the floor to facilitate proper drainage.
- Shower Head Positioning: Selecting an appropriate height and placement for the showerhead based on user preferences and accessibility.
- Seating Options: Including built-in benches or foldable seats may enhance comfort, especially for those with limited mobility.
- Glass Panels: If using glass panels for distinction, consider their positioning to prevent water splatter while maintaining airflow.
Materials and Finish Options
The materials used in a wet room shower should be both aesthetically pleasing and practical. Here are some commonly used options:
- Flooring: Non-slip tiles, vinyl, and treated stones provide safety and durability. Ensure selections are water-resistant.
- Wall Finishes: Consider waterproof paint, tiles, or stone finishes to remain stylish while ensuring water concerns are addressed.
- Shower Fixtures: Chrome or matte finishes on fixtures can enhance the modern appearance while being easy to maintain.
- Grouting: Choosing anti-mold grouts can prevent mildew build-up and reduce cleaning frequency.
Installation Process for Wet Room Shower
Preparing Your Space
Successful installation of a wet room shower requires meticulous preparation. Start with a thorough assessment of your existing bathroom space, focusing on plumbing, electrical, and flooring aspects. Consulting certified professionals for plumbing adjustments and waterproofing is highly recommended to guarantee adherence to building standards. Creating a clear plan detailing the layout, materials, and potential challenges greatly assists in smooth execution.
Step-by-Step Installation Guide
- Initial Assessment: Evaluate current structures, plumbing, and any necessary permits.
- Waterproofing: Apply waterproof membranes to floors and walls—this structure is crucial for avoiding water-related damages.
- Install Drainage System: Ensure the drain is positioned correctly and has the necessary slope for effective water removal.
- Flooring Installation: Lay down chosen tiles or materials, ensuring a consistent slant toward the drain.
- Fixture Setup: Install the shower head, controls, and any other fixtures as per the designated plan.
- Finishing Touches: Apply silicone seals around edges, check for leaks, and ensure that all fixtures operate efficiently before finalizing your project.
Common Installation Challenges
Venturing into the installation of a wet room shower can pose several challenges. Some of the most common include:
- Waterproofing Failures: Inadequate waterproofing can lead to costly repairs. It is essential to use high-quality materials and follow instructions closely.
- Drainage Issues: Incorrect drainage placement may cause water pooling. A proper slope is key during installation.
- Tile Warping: Using tiles that aren’t suited for wet conditions can lead to damage; selecting the right materials is essential.
- Ventilation Problems: Poor air circulation leads to mold and mildew. Incorporating windows or fans helps maintain airflow.
Maintenance Tips for Your Wet Room Shower
Cleaning and Upkeep Practices
Regular maintenance is paramount to keep the wet room shower looking pristine and functional. Use mild cleaning solutions for daily upkeep, avoiding harsh chemicals that can damage finishes. A squeegee after each use can prevent calcium buildup, while periodic deep cleaning every few weeks can help maintain a spotless appearance.
Preventing Mold and Mildew
Preventing mold and mildew starts with comprehensive ventilation solutions, such as extractor fans and opening windows. Regularly check and replace any seals around fixtures as necessary, and consider using anti-mold paint or grout in the room. An effective cleaning schedule, including the use of vinegar or mold-preventive cleaners weekly, contributes significantly to a healthier environment.
Long-Term Care Strategies
For long-term care, involve professionals for routine inspections and consider seasonal renovations to update grout and seals. Introducing moisture-absorbing materials can aid in managing humidity levels within the wet room. Additionally, maintaining the overall space surrounding your wet room, including flooring and fixtures, ensures a harmonious and attractive aesthetic that stands the test of time.
FAQs About Wet Room Shower
What size should a wet room shower be?
A wet room shower should ideally be at least 3×3 feet for comfortable use.
Can I install a wet room shower in a small space?
Yes, even small bathrooms can accommodate a wet room shower with proper design.
How do I prevent water pooling in a wet room shower?
Ensure the floor has a continuous slope towards the drain for efficient drainage.
What materials are best for wet room shower floors?
Non-slip tiles or treated natural stones are excellent for safety and durability.
Are wet room showers suitable for families?
Yes, they offer spaciousness and accessibility—great for family use.